In the last blog in this series, we talked about how to prioritize your tasks so that you can actually get them done in a timely fashion. In this final blog in the series, we’ll talk about how to make sure you actually complete them.
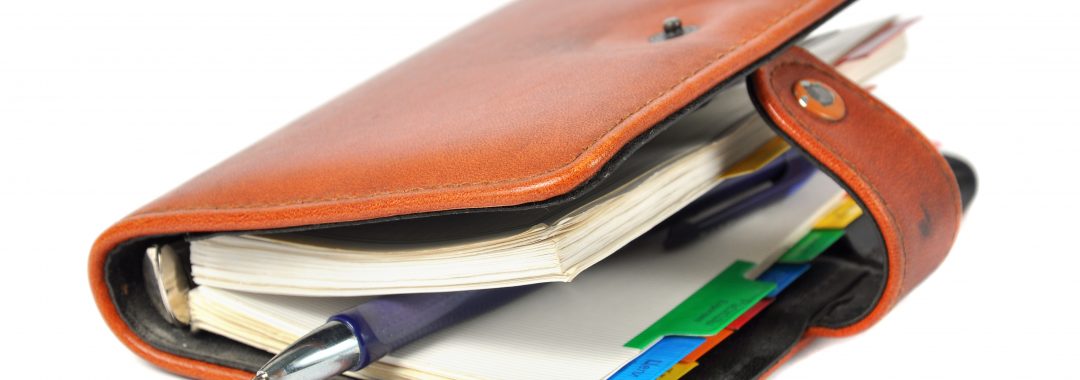
You’ve made a list of things you need to do, broken down big projects into short-term tasks, and prioritized them. Now it’s time to put them on a planner and a wall calendar so you can see them. But how do you know which ones go on the calendar and which ones go in the planner?
The Wall Calendar
The wall calendar is where you put due dates. These aren’t the dates you start something – they’re the dates you finish something. In each calendar box, write down what has to be done by that day.
If it’s not a true due date – that is, one that you didn’t get to choose – save it for your planner. Your planner is where you’ll set intermediate and short-term deadlines; your wall calendar is for the big picture.
In the to-do list above, there are three things that have set due dates that you didn’t choose: the English paper due on 10/5, the geography research project due on 10/7, and the biology lab that’s due on Tuesday. So in your wall calendar, find those three dates.
Use a marker that’s a color you’ll notice – red is almost always a good one – and write “ENGLISH PAPER DUE” on October 5, “GEOGRAPHY PROJECT DUE” on October 7, and “BIO LAB DUE” on Tuesday. Then, in the left-hand column you labeled “done” on your to-do list, check them off. They’re on the wall calendar now, so they’re off your to-do list.
The Planner
Using the items you identified as “important” or “important and urgent” from the Eisenhower Box, transfer those two-hour tasks to your planner. A good rule of thumb is to try to make sure you get any task done at least 24 hours before its due date – 48 hours, if you can manage it.
Try not to put more than three short-term tasks on any given day. Keep it to two tasks, if you can.
Delegate urgent tasks to people who can do them; delete tasks that aren’t important or urgent.
Remembering to Use Your Planner
Three cautions about a planner:
1. Your planner should be something that you can and will carry with you. If you won’t carry it with you, you won’t use it.
2. When you’re at home, your planner should have a storage space outside of your backpack or bag, where you can see it all the time, and where you can grab it at any time.
3. Many students buy a planner and even fill it out, but then forget to look at it. Here’s how to cue yourself to do that, if you aren’t used to using a planner.
Write down three things that happen every single day, even if they don’t happen at the same time. For example, if your roommate’s alarm clock always goes off at least once a day, write that down on the inside cover of your planner. If you always have toast for breakfast, write that down. If you know you’re going to get a text message from your mother every single day, write that down.
Other reliable cues include having lunch, leaving a classroom, walking through a particular door, riding a bus… you get the idea.
Once you have a list of three things that you know will happen every single day, you have three cues that will remind you to check your planner. Every time your text message sound goes off, open your planner and check it. Open the planner while you’re having your morning toast. But make sure you check it, and check it often. Otherwise, it won’t help you!
Also, set a time each week to schedule out the next week, and make sure you stick to that time. “Planner time” should be one of the first things you have on your schedule each week!

